> ## Documentation Index
> Fetch the complete documentation index at: https://docs.gratero.com/llms.txt
> Use this file to discover all available pages before exploring further.
# Quickstart
> Launch Gratero fast and ship your order in minutes.
## Get started in three steps
Follow this flow to prepare your Gratero account for live operations.
### Step 1: Create your workspace foundation
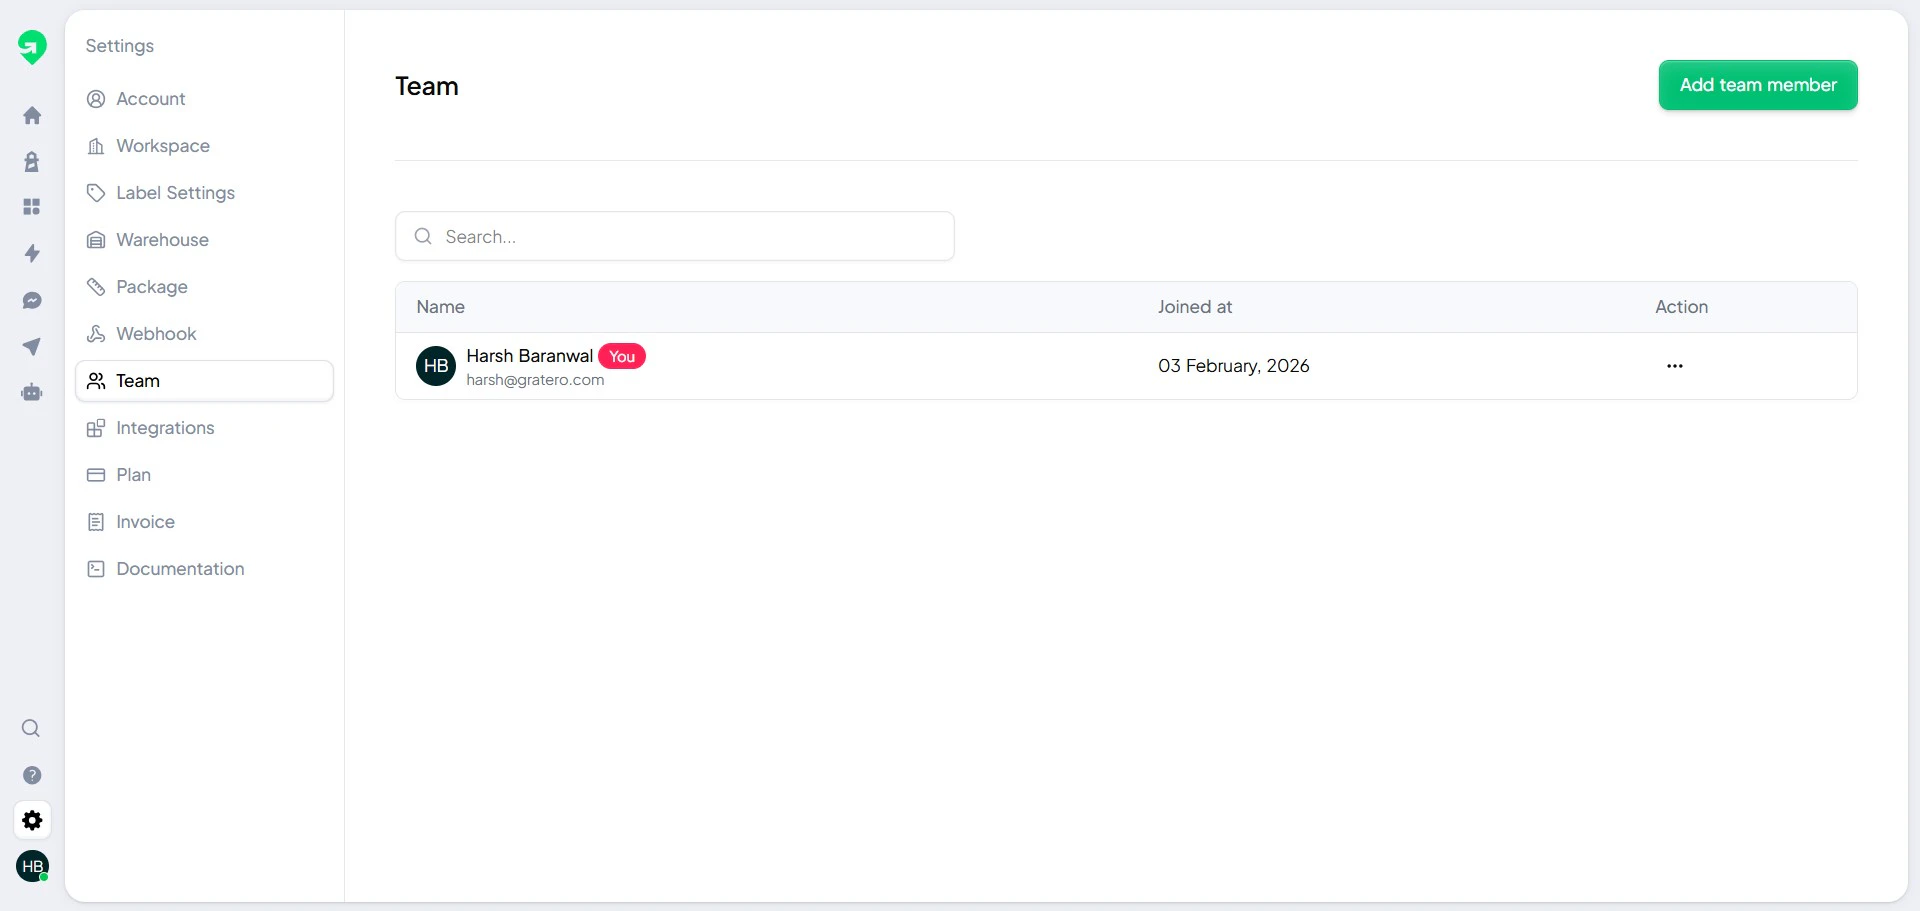
Open your team settings and invite admins and operators who will manage shipping, support, and automation.
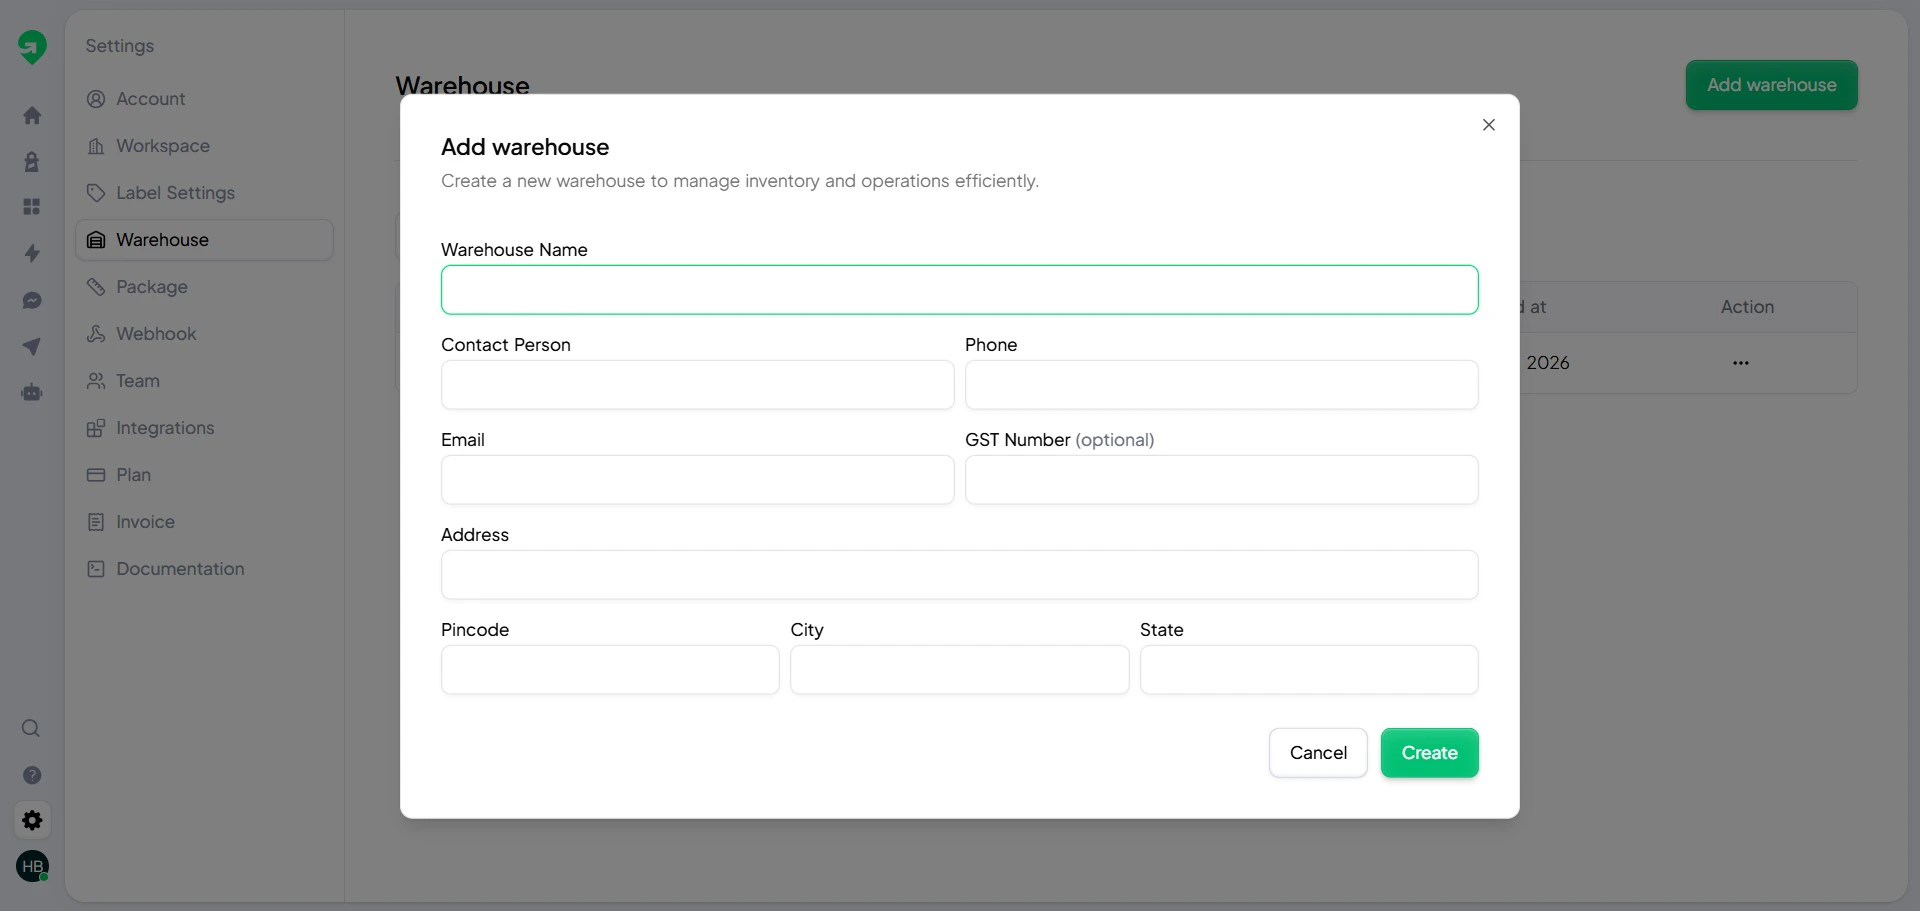
 Add at least one pickup warehouse before creating labels.
 ### Step 2: Configure delivery partners and serviceability
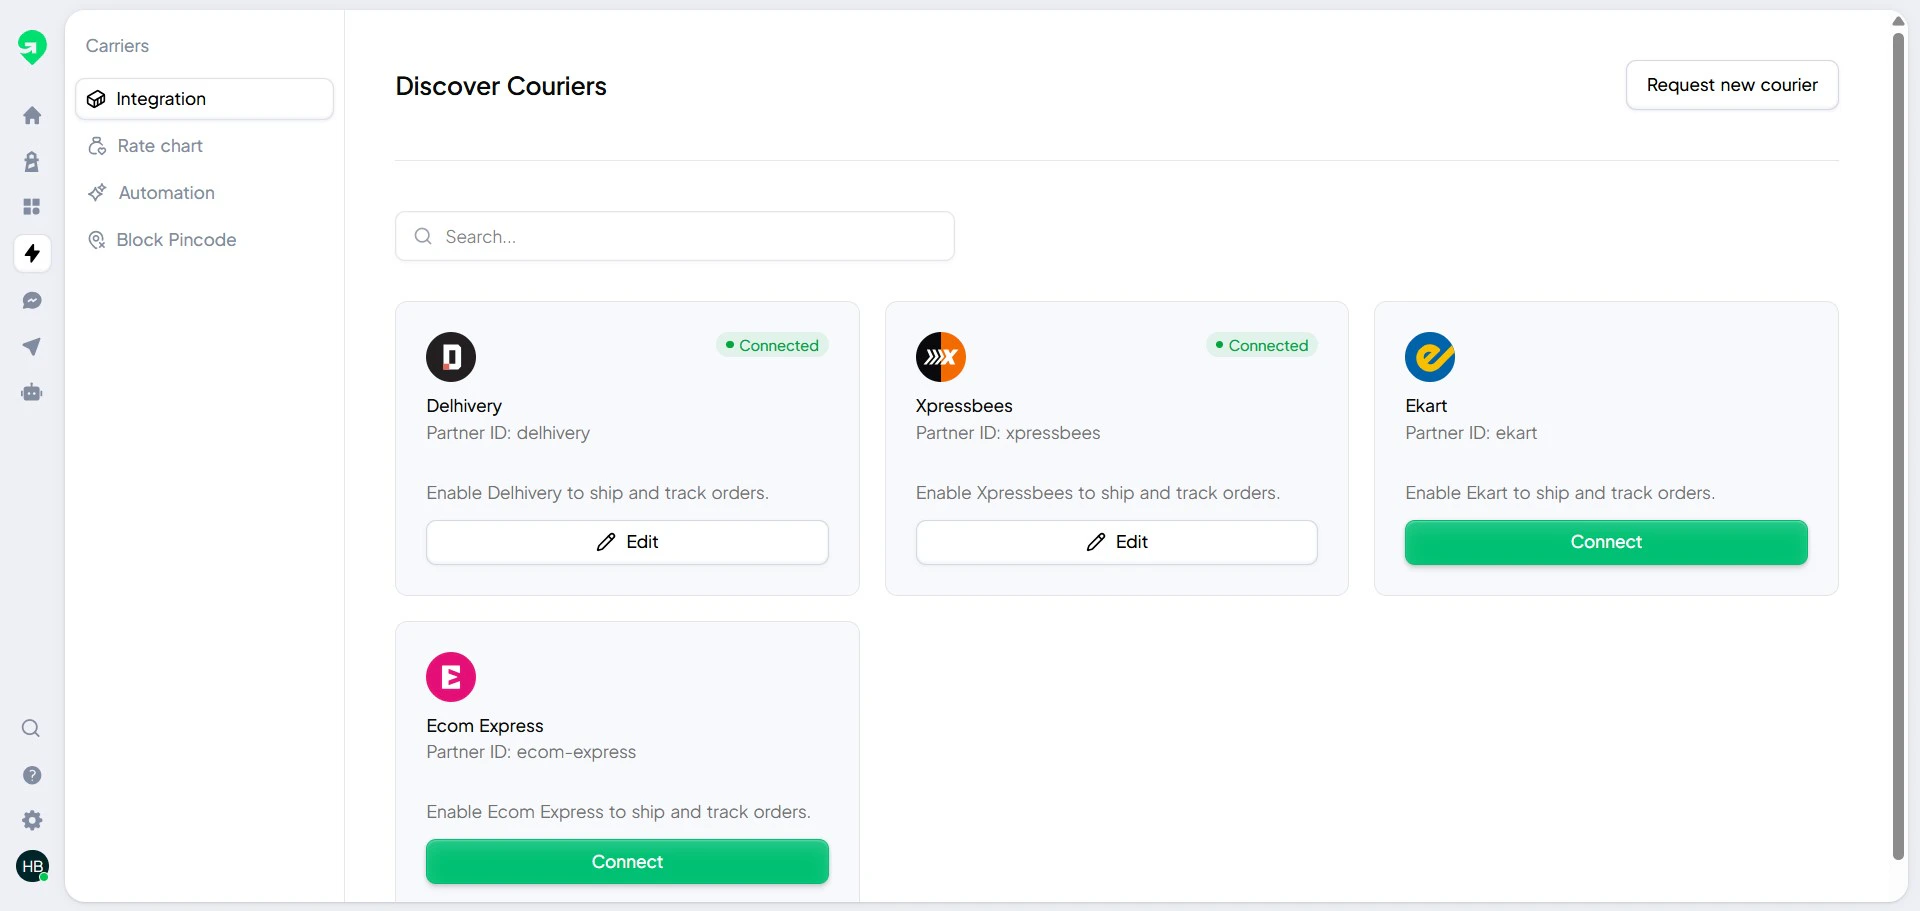
Add each courier account that your operations team uses.
### Step 2: Configure delivery partners and serviceability
Add each courier account that your operations team uses.
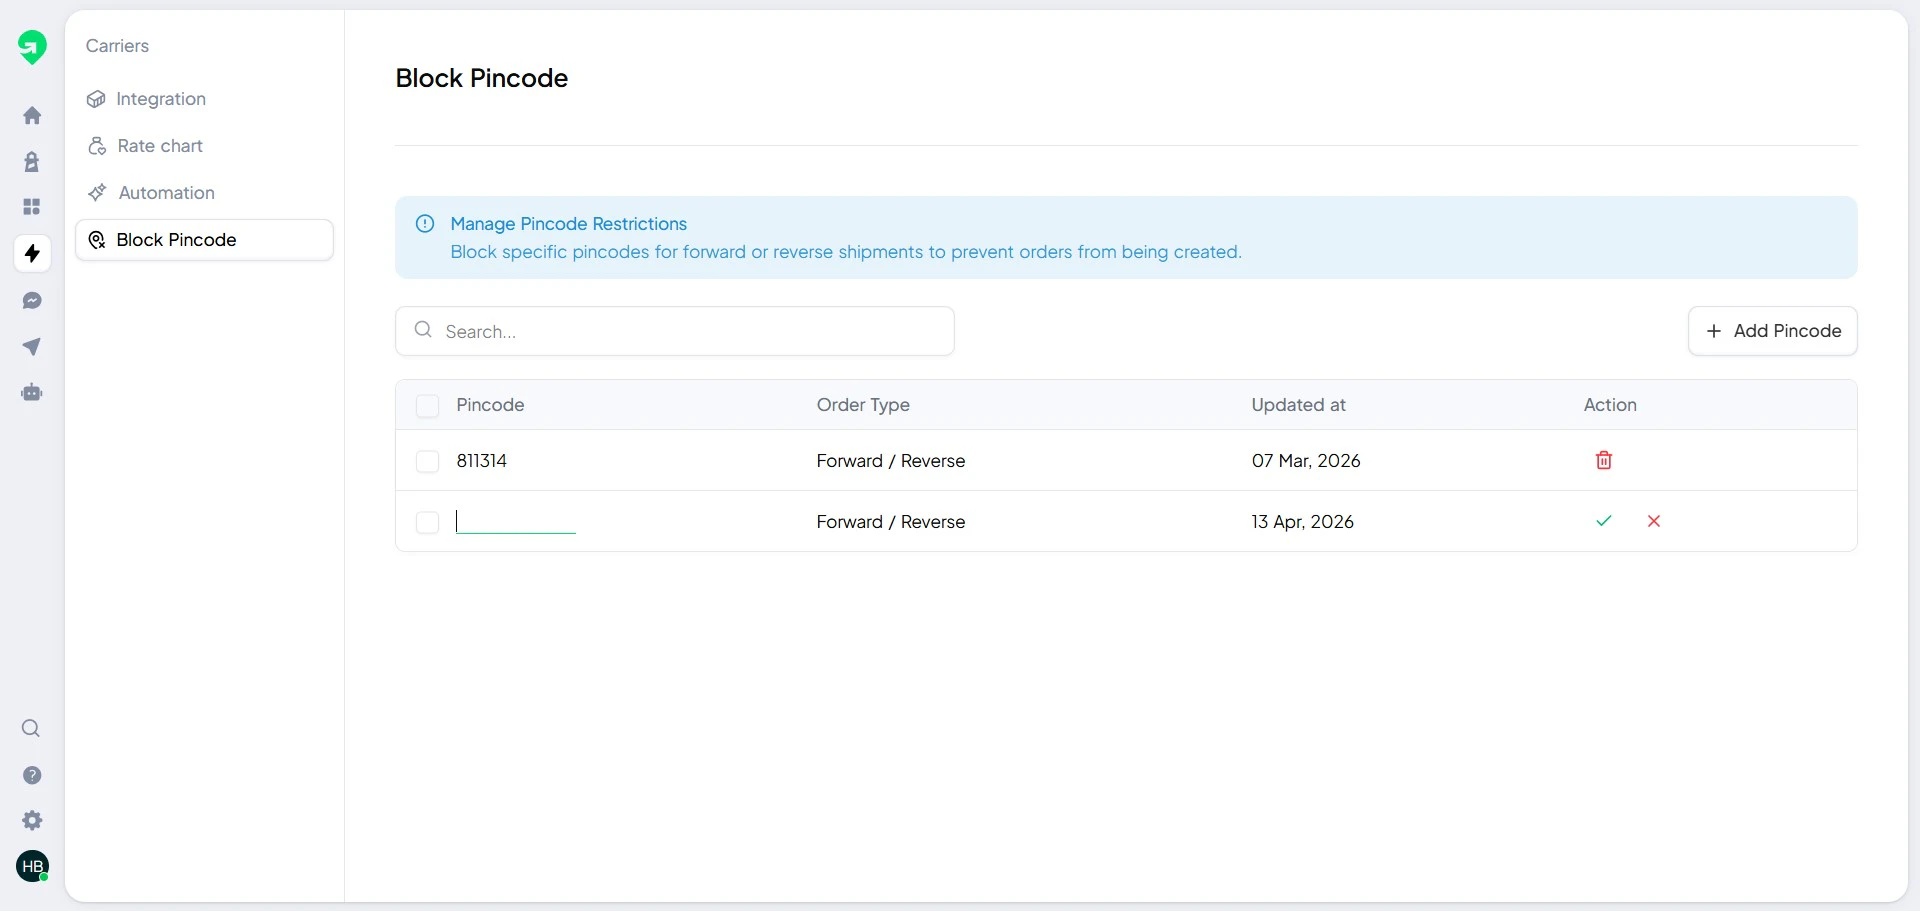
 Use blocked pin codes to stop orders from entering known high-risk or unserviceable locations.
 ### Step 3: Turn on customer communication and monitoring
1. Configure notification templates and channel preferences.
2. Publish your tracking page template.
3. Run a test order to verify labels and updates.
## Next steps
Once baseline setup is complete, use these guides:
Build conditions and actions for repetitive operations.
Manage warehouses, carriers, and blocked pin codes.
Generate and validate shipping labels.
Configure AI-driven customer follow-ups.
Build your own internal SOP from this help center so onboarding and handoffs stay consistent.
### Step 3: Turn on customer communication and monitoring
1. Configure notification templates and channel preferences.
2. Publish your tracking page template.
3. Run a test order to verify labels and updates.
## Next steps
Once baseline setup is complete, use these guides:
Build conditions and actions for repetitive operations.
Manage warehouses, carriers, and blocked pin codes.
Generate and validate shipping labels.
Configure AI-driven customer follow-ups.
Build your own internal SOP from this help center so onboarding and handoffs stay consistent.